Printing on Parchment
Click on image to enlarge for saving or printing
**NOTE**: I use Paint Shop Pro 8 to make all my 'printed' parchment pieces, however, they could also be made by using MS Word. My instructions are for PSP8 and all versions thereafter.
Step 1: Find an image you want to use.
Step 2: Download and save your image to a new folder on your hard drive (or external drive) titled "PSP Images". Open PSP and locate the image you have chosen. Drag it to your workspace. Now you can manipulate the image to your liking with the many different options PSP offers for photo/image editing.
Step 3: Click the "printer" icon in the PSP toolbar. This will open the print setup menu. Set the size you want the image to be using the options circled in the screen shot below. **Example: I make all my cards the same size.....5"X7" finished size so I set my images to print out at a number that will be much smaller than the 'finished' size of the card yet allowing enough space around the image for any kind of border I want to add to the project. This will be a 'trial and error' process until you become very familiar with how PSP works and your printer works!!!

Custom offset: Always make sure you have this option ticked for printing on parchment.
Orientation: When making fold over cards....set the orientation to "portrait". When making side opening cards...set the orientation to "landscape".
Size and position: set these numbers to the actual size you want your image to be and don't forget to leave enough room around the image for the grid border, or whatever border technique you plan to use for your project.
Left and top offset: these numbers will determine exactly WHERE on your paper the image will print. Watch the 'preview' window to see where the image moves to with each adjustment you make using these two buttons. When you are satisfied with the location of the image, load ONE sheet of parchment paper into an INKJET ONLY printer and click the 'print' button.
**NOTE** I always print out a 'test' page on regular printer paper before I do a final print to the parchment paper. I can then make any further adjustments before wasting parchment paper!! Once the image has been printed to the parchment, it is mandatory that it DRY on a flat surface until thoroughly dry.
Step 4: Take your parchment paper, with the image, and gently rub 'both' sides with a tumble dryer sheet.
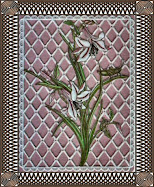
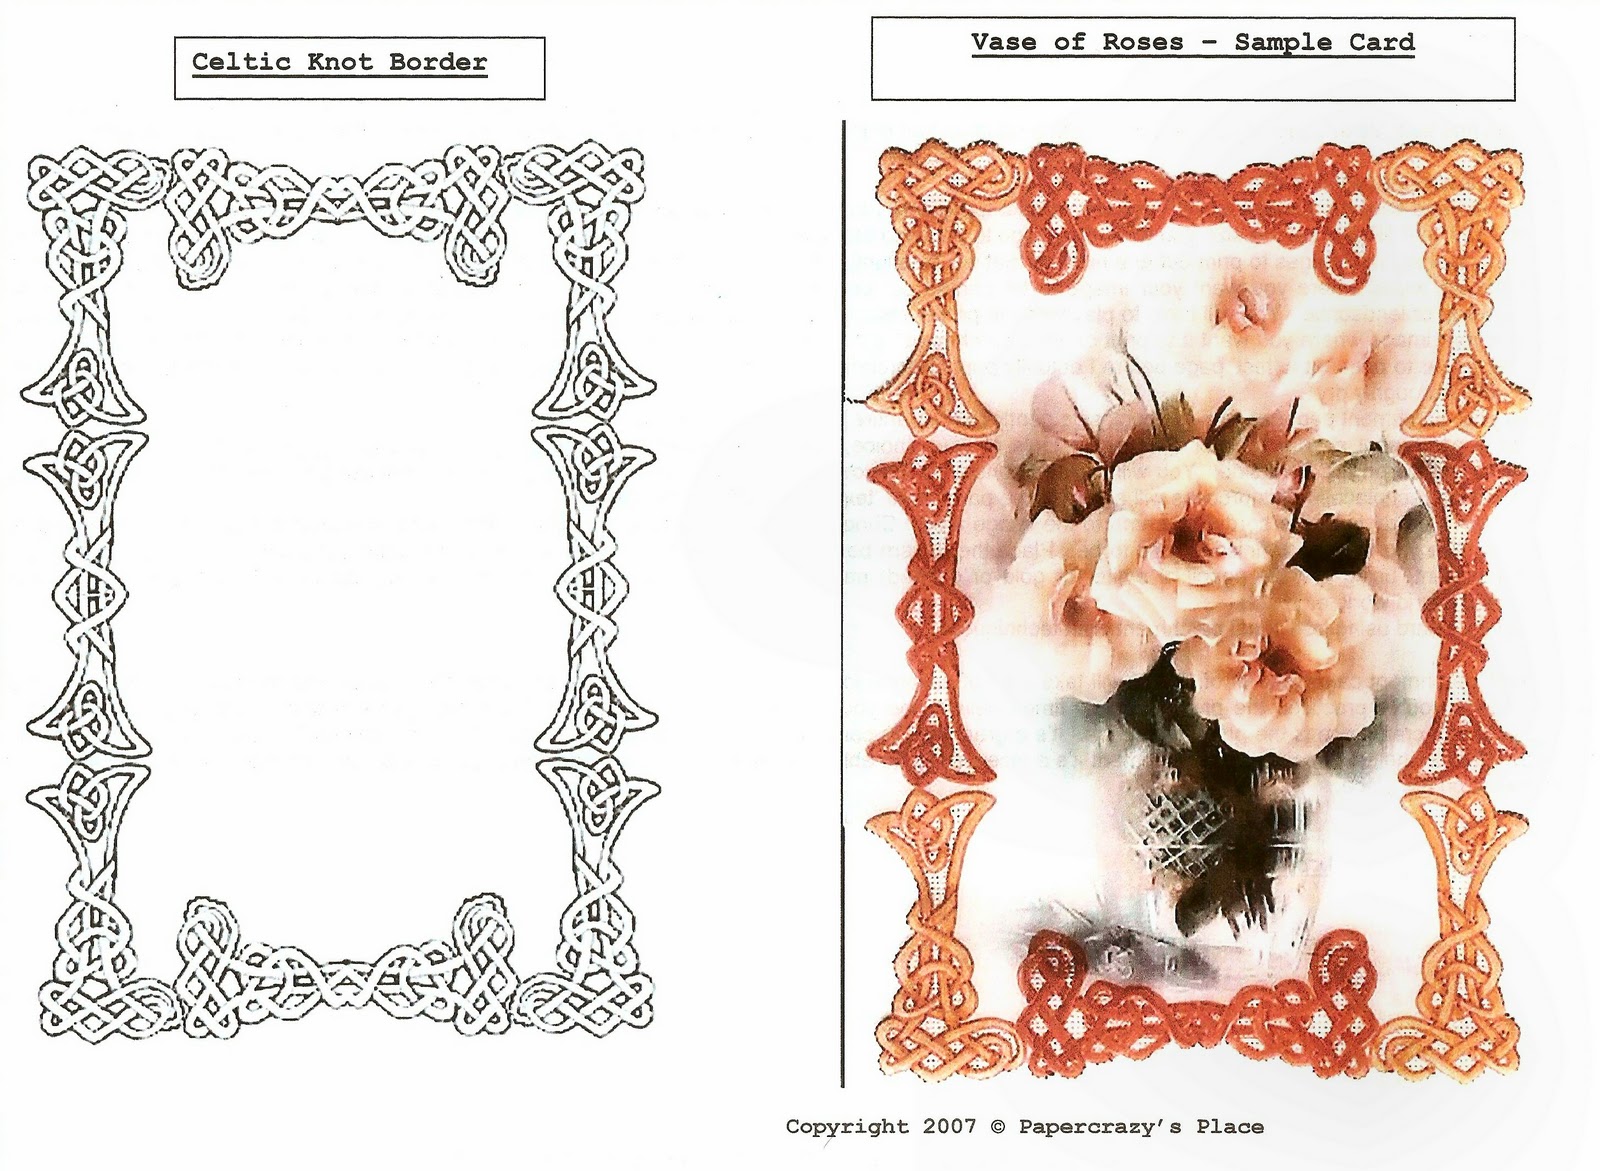
Step 5: Now, you are ready to add a border or frame to the image area. Choose a border that is appropriate to the image and print the pattern out on regular printer paper the size you want your finished 'topper' to be. My cards are always 5"X7" so my printed border patterns are always as close to 4.5"X6.5" (from outside edge to outside edge) as possible. Place the border pattern beneath your image parchment (right side up) and decide where you want your image to be inside the border pattern. Using low tack tape, secure the border pattern to the back side of the parchment and trace the pattern using a white pencil or any colored method you choose such as inks, felt tips or Microns. Step 6: With a parchment shader tool, or embossing tools of your choice, begin embossing on the back side of the image all areas you would like more light/highlight to appear on the front side. You will need to constantly flip your work from back to front throughout the embossing/shading process to make sure you are highlighting in the correct places. This process will also give the image area the traditional parchment 'texture' so it will easily blend into any other traditional techniques you add with the border work.
Step 7: Finish your project using any parchment craft technique you prefer.
Making 'printed' parchment projects is a lot of fun. The process is NOT any faster than making something using totally traditional methods but it does offer much relief for those who suffer from age related issues such as arthritis....or polio, like myself. We 'used' to be able to do all the traditional techniques this art form requires and now we simply cannot, so printing on parchment and using whatever parchment techniques we can 'still' manage will allow anyone who loves this craft to continue on without the accompanying pain some of the techniques bring with them :))
The ONLY process that is different from making a totally traditional parchment craft project is the printing process. It's a great way to combine a bit of modern technology with an ancient art form....plus, for those of us who aren't exactly gifted in the art of painting on parchment it's a nice way to be able to produce an elegant parchment piece and still have our own unique parchment crafting elements on the piece.
So, give it a try. It'll take a bit of patience to sort it all out but we parchers are accustomed to having lots of patience....and practice, practice, practice will do the trick every time!!!
ENJOY!!!